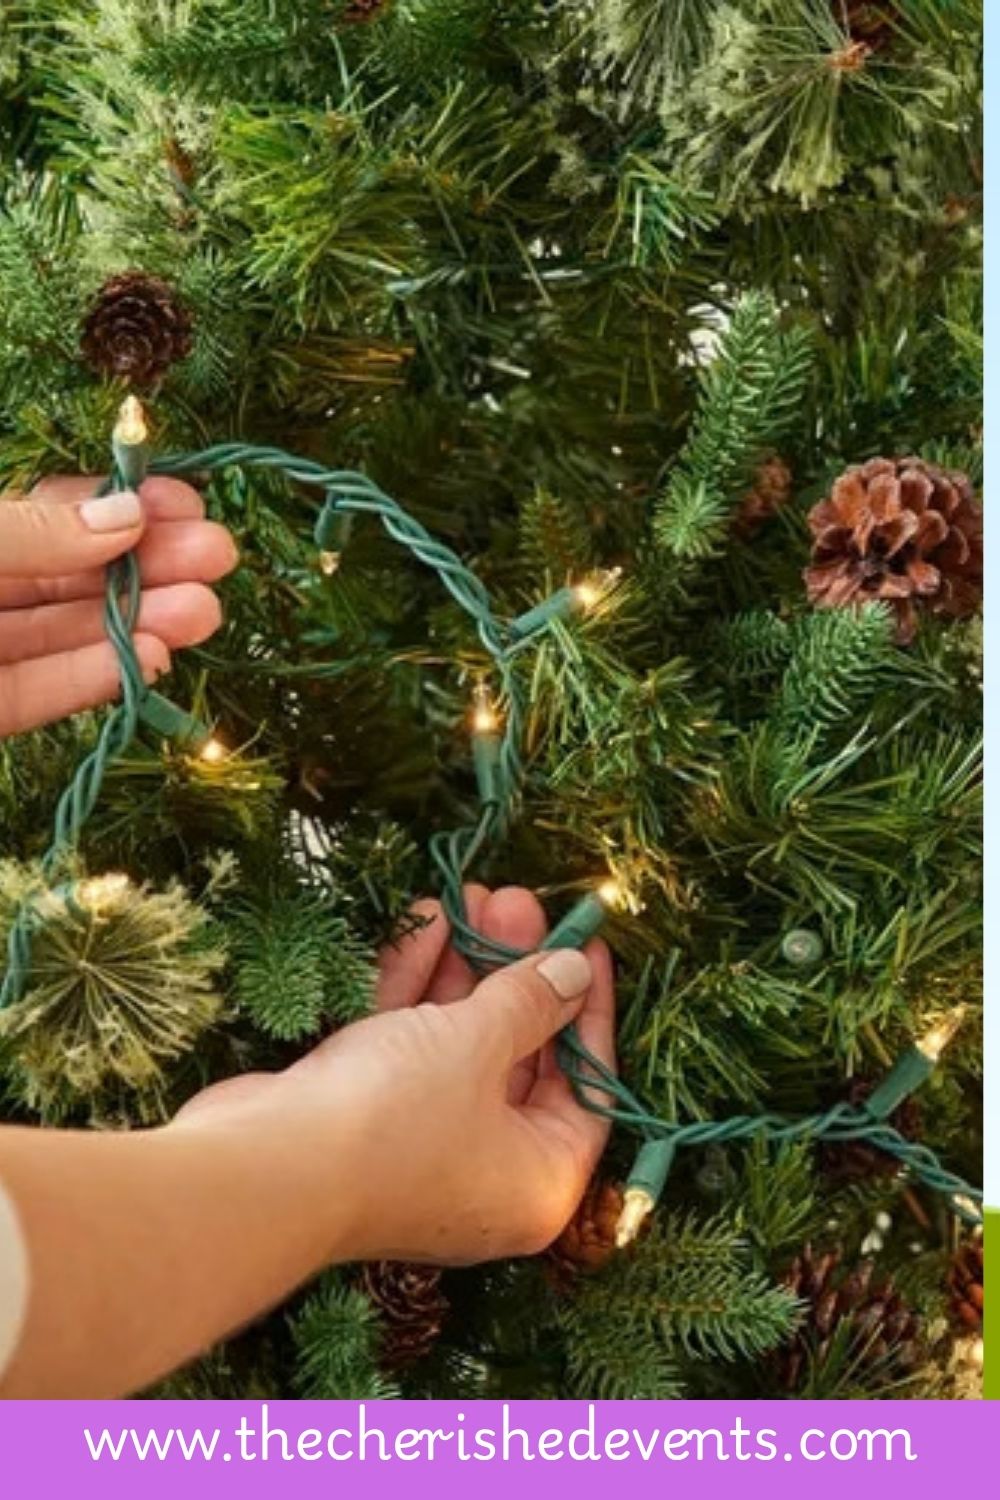
A few years ago, I got a new Christmas tree that looked beautiful straight out of the box, but honestly, I was not completely impressed with it. Everything looked too ready-made and perfect. The branches were already shaped in one direction, and the whole tree had that artificial look that made it feel more like something I had bought from a store than something that belonged in our family Christmas celebration. I wanted something that felt fuller, more natural, and most importantly, personal. Check out How to Set Up the Perfect Drink Station for Your Thanksgiving or Christmas Party if you’re also planning the rest of the holiday gathering around this tree.
So instead of simply putting it together exactly the way it came, I decided to dismantle some of the parts and assemble the tree differently. I moved the branches around, opened them up, and slowly shaped the tree into the kind of Christmas tree I had pictured in my mind. It was not about making it perfect. I just wanted it to feel like our tree.
What made the experience even more special was doing it with my kids. We were practically fixing the different parts together, spreading out the branches, deciding where certain decorations should go, and stepping back every now and then to see how the tree was coming together. It became less about decorating a Christmas tree quickly and more about creating a little family Christmas memory. That experience taught me that you do not need an expensive tree or professional decorating skills to create something beautiful. Sometimes, you just need to slow down and make the tree your own.
Start by Putting the Christmas Tree Parts Together

When I first brought the tree out, I did not rush to decorate it. I spread all the different pieces out so we could see what we were working with.
If you have an artificial Christmas tree that comes in several sections, start by identifying the bottom, middle, and top sections. Depending on the type of tree you have, the branches may already be attached to each section or may need to be fitted into the main frame.
This is actually a fun part to do with the kids if the pieces are lightweight and safe for them to handle.
We worked together to figure out which section went where, passing the pieces around and helping each other fit them into place.
If your children are helping, let them handle the safe parts while an adult takes care of anything heavy, sharp, or difficult to secure.
Once the sections are connected, step back and check that the tree is standing straight and securely in its stand.
Shape the Tree Instead of Leaving It Exactly as It Came
This was the part that made the biggest difference for me.
The tree looked very artificial when I first opened it because the branches were compressed and arranged almost exactly the way they had been packed. Instead of accepting that appearance, I started opening and reshaping the branches.
I worked from the bottom upward, gently separating the branches and moving them in different directions. My kids helped by opening the smaller branches while I worked on the larger ones.
It was actually a little messy at first because we were all touching different parts of the tree and trying to figure out what looked right. But that was part of the fun.
Do not worry if your tree does not look perfect immediately. Keep spreading the branches until the tree begins to look fuller. Move some branches slightly forward, others toward the sides, and a few toward the back.
The goal is to create a natural shape instead of having every branch pointing in exactly the same direction.
Take Your Time Fluffing the Christmas Tree
Once all the main sections were assembled, we spent more time fluffing the tree.
This is one step I would not skip when decorating a Christmas tree. An artificial tree can look surprisingly thin when the branches are still compressed, but it can look much fuller once you take the time to separate them properly.
I showed my kids how to gently pull the branches apart and spread the smaller tips around. They moved around the tree while I checked the larger sections.
Every few minutes, we stepped back to look at it.
That little step helped us notice where the tree still looked empty. We would find a gap, go back to it, move a few branches around, and then look again.
You do not have to make the tree perfectly symmetrical. In fact, giving the branches slightly different directions can help an artificial tree look more natural.
Decide How You Want the Tree to Feel
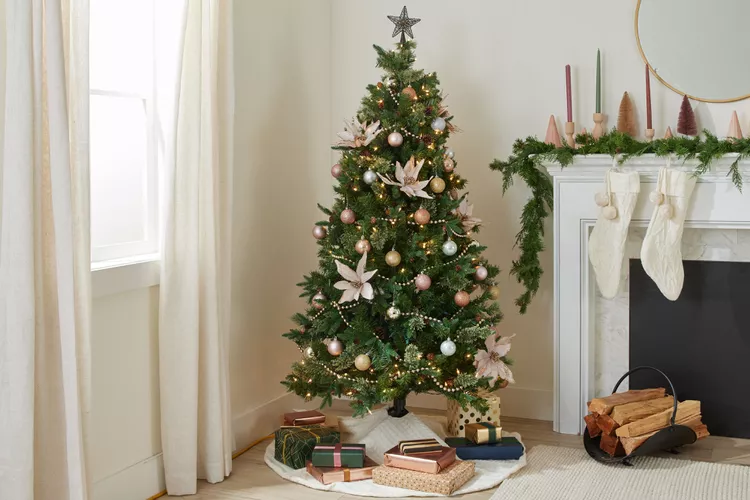
Before bringing out all the decorations, I like to think about the feeling I want the Christmas tree to have.
Keep Fall Mantel Decorating Ideas That Make Your Home Feel Warm and Cozy handy, since the same “pick a feeling first” approach works just as well here.
For our tree, I wanted something warm and personal rather than something that looked like every decoration had been bought as one matching set.
You might want a traditional Christmas tree with red, green, and gold decorations. Maybe you prefer a soft white and silver look, a colorful family tree, or something simple with natural-looking decorations.
There is no rule saying that everything has to match perfectly.
Think about the colors already present in the room and the decorations you already own. If your family has special ornaments that have been collected over the years, leave room for them.
That is one of the things I love about decorating a family Christmas tree. It does not have to look like it came from a showroom. It can carry memories.
Put the Christmas Tree Lights On First
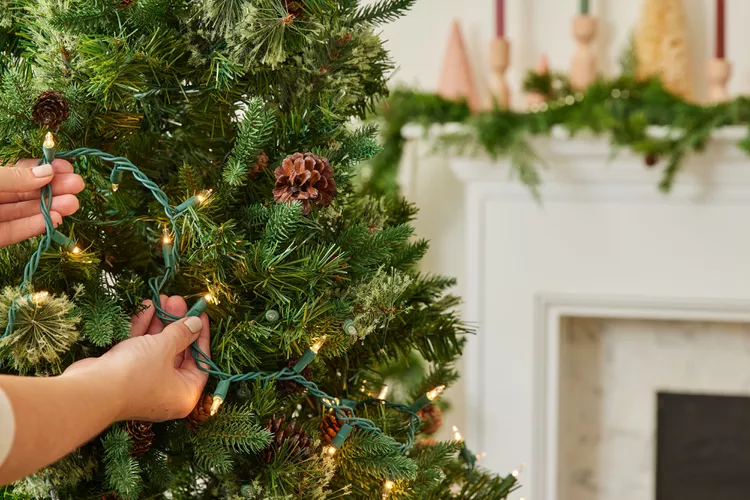
Once the tree was shaped the way we wanted it, we were ready to start decorating.
I always like to put the lights on before the ornaments because it is much easier to reach the branches while the tree is still mostly empty.
We started from the bottom and slowly worked our way upward. While I handled the main placement, the kids helped pass the lights and pointed out areas that looked darker.
Instead of keeping all the lights on the very outside of the tree, we tucked some of them slightly deeper into the branches. This helped create a softer glow throughout the tree.
Every so often, we turned the lights on to see how they looked.
That little check is useful because it allows you to spot areas that need more light before you start adding ribbons and ornaments.
Add Ribbon or Garland
After the lights were in place, it was time for the ribbon.
This is another part where I prefer not to make things too perfect. Rather than trying to wrap the ribbon around the tree in a perfectly straight line, I let it fall into loose curves and tucked different sections between the branches.
My kids helped me decide where some of the ribbon should go, although we definitely moved some pieces around more than once.
If you are using two ribbons, you can layer them together or use them in different parts of the tree. A wider ribbon can create a strong visual base, while a thinner ribbon can add another texture.
You do not need to cover the entire tree with ribbon. Sometimes a few well-placed sections are enough to give the tree a fuller and more finished appearance.
Hang the Bigger Ornaments First
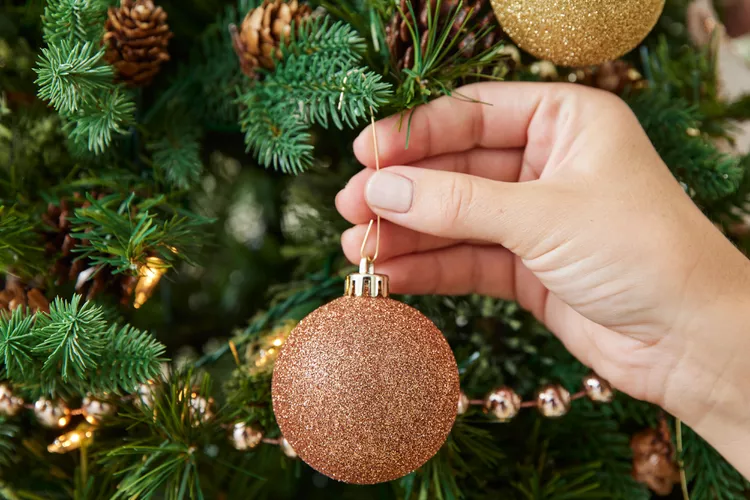
Now came the part my kids were waiting for: the ornaments.
We started with the larger ornaments rather than immediately hanging the small ones.
I explained to them that we should not put all the big decorations in one place. So we spread them around the tree, placing some higher up, some around the middle, and a few closer to the bottom.
We also placed some ornaments slightly deeper into the branches. This helped make the tree look fuller instead of having everything sitting on the outside.
The kids had their own favorite ornaments, so we let them choose where some of them would go.
Of course, there were moments when I wanted to move an ornament because I thought it would look better somewhere else. But I also learned to let them have some say in the process.
After all, the tree was being created for our family, not for a decorating competition.
Add Smaller Ornaments and Family Decorations
Once the larger ornaments were in place, we filled the remaining spaces with smaller decorations.
This was when the tree really started looking like a Christmas tree.
We mixed different shapes and sizes rather than placing similar ornaments together. Some were shiny, some were simple, and some were decorations we had kept from previous Christmas celebrations.
The special family ornaments were probably my favorite part.
If you love collecting keepsakes like this, How to Create a Memory Book for Your Baby’s First Year carries that same spirit of holding onto small things that mean a lot.
There is something different about pulling an ornament out of a storage box and remembering where it came from or who gave it to you. Those little pieces may not match perfectly, but they give the tree character.
We placed some of our favorite decorations where they could easily be seen instead of hiding them behind the larger ornaments.
Look for Empty Spaces Together
After we had hung most of the decorations, we stopped and looked at the tree.
This became a little family activity of its own.
We would stand back and ask ourselves, “Does this side look empty?” or “Should we put something here?”
Sometimes one of the kids would notice a gap that I had completely missed.
Instead of trying to fill every space immediately, we looked at the whole tree first. This helped us see where another ornament, ribbon, or decorative piece would actually make a difference.
If your tree looks a little uneven at this stage, do not panic. You can easily move a few decorations around until the overall arrangement feels balanced.
Add Natural-Looking Christmas Decorations
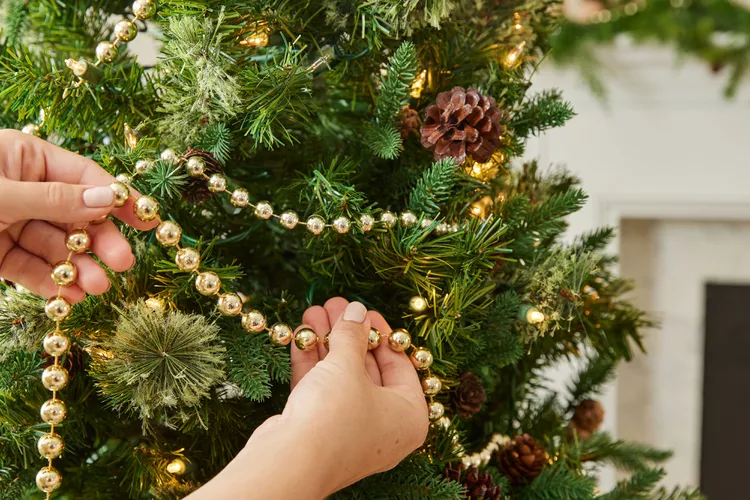
Since I wanted my tree to feel less artificial, I also liked the idea of adding decorations that gave it a more natural appearance.
Depending on your Christmas theme, you can use pinecones, berries, wooden ornaments, faux greenery, dried-looking branches, or simple floral picks.
We tucked a few pieces between the branches rather than placing everything directly on the outside.
These little additions can soften the appearance of an artificial tree and give it more depth.
You do not need many of them. A few carefully placed natural-looking decorations can make a noticeable difference.
Put the Tree Topper in Place
By this point, the tree was almost finished.
We saved the topper for one of the final steps because it felt like the moment that officially completed the tree.
You can use a traditional star, an angel, a large bow, or another decoration that fits your Christmas style.
With kids involved, this can become a special little moment. If the topper is too high for them to reach safely, let them choose where they want it while an adult secures it at the top.
Once it was in place, we turned on the lights again and stood back to admire everything we had done.
Finish the Bottom of the Tree
The bottom of the tree can sometimes look forgotten after all the attention has gone into the branches.
We added a Christmas tree skirt to cover the stand and give the base a finished appearance.
You can also use a tree collar, basket-style cover, or another decorative option that works with your Christmas decor.
Then, of course, there was room for the presents.
If you have children, you can make the area underneath the tree part of the overall Christmas display with wrapped gifts, baskets, or a few simple decorations. Just make sure anything fragile or unsafe stays away from young children and pets.
Do One Final Check Before Calling It Finished
Once we thought we were finished, we did one final walk around the tree.
This is something I recommend because the tree can look completely different from different sides.
We checked the front, sides, and the areas around the bottom. We moved a few ornaments, tucked in some branches, and adjusted a couple of ribbons.
Then we switched on the lights.
And that was probably my favorite moment.
The tree was not perfect, and it did not look exactly like the professionally decorated Christmas trees I had seen online. But it felt like ours.
The kids had helped put it together. We had chosen where things should go. We had moved pieces around until they felt right. Every little section carried part of the experience.
That is what made it beautiful to me.
Make Decorating the Tree a Family Tradition
If you have children, decorating the Christmas tree can become much more than another holiday chore.
Let them help with the safe parts. Give them a few ornaments to place. Let them choose a favorite decoration or decide where a special family ornament should go.
You may have to rearrange a few things afterward, but that is okay.
The memories created while decorating can become just as important as the finished tree.
Check out 25 Family Reunion Party Ideas That Bring Everyone Together for more ways to build traditions like this one.
Years later, you may not remember exactly where every ornament was placed, but you may remember your children sitting beside you, passing decorations around, laughing when something fell, or proudly pointing to the ornament they chose.
For me, that is what changed the way I looked at decorating a Christmas tree. I started with a tree that felt too artificial and too ready-made. By taking it apart, reshaping it, and putting it together in our own way, I ended up with something that felt much more personal.
Final Thoughts
Learning how to decorate a Christmas tree step by step does not mean following a strict set of decorating rules. Start by putting the tree together securely, take your time shaping the branches, add the lights, bring in your ribbon and larger ornaments, and then fill the spaces with smaller and more personal decorations.
But do not forget to enjoy the process.
Your Christmas tree does not need to look exactly like someone else’s tree. It can be a mixture of beautiful decorations, old family ornaments, handmade pieces, and little memories from Christmases past.
Sometimes the tree you create with your family will mean much more than the perfectly decorated tree you could have bought ready-made.
So put on some Christmas music, bring out the decorations, let the kids help where they can, and take your time creating a tree that feels like home.